Sumary
How to get started
Using Personia is as easy as possible, but also streamlined to help you and your team get the best insights in record time. Watch the video below and have a glimpse of what Personia can do.
Before you begin, if you’re unfamiliar with basic consumer research concepts or need a refresher, we recommend reading our guide How to Master Research Interviews with Personas.
How to create a Persona
Let’s create your first synthetic persona:
1. Navigate to your home screen or click on Personas in the top menu.
2. On the right top side of the screen, click the Create Persona button.


The “Create Persona” Screen
This is where you can set up everything you know about your synthetic persona. The platform also provides an assistant to help populate data, whether you’re starting from a simple text description or directly defining attributes.

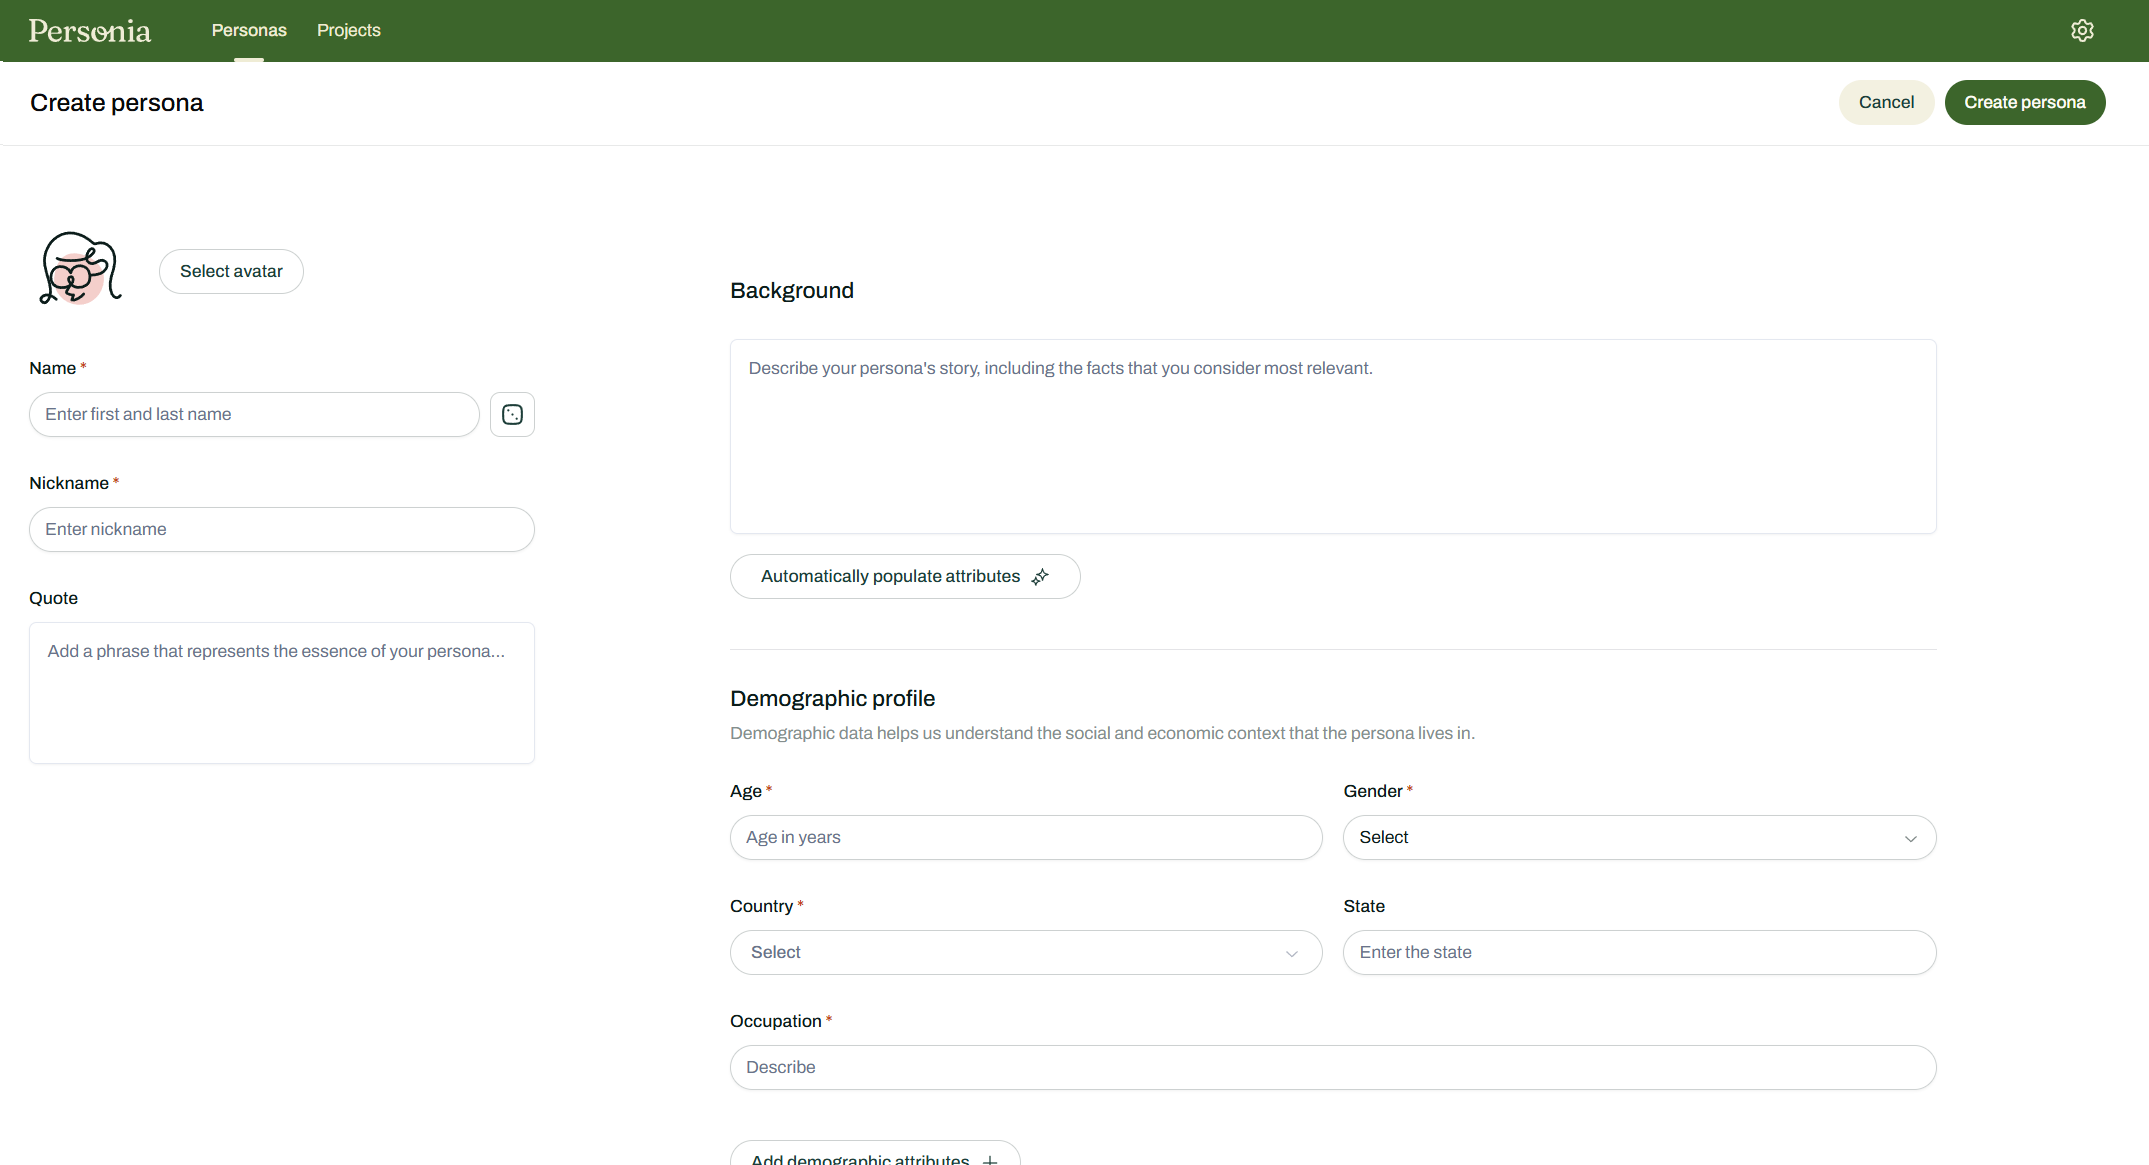
1. Avatar: Select an avatar to give your persona a unique identity. While this choice doesn’t impact the persona’s behavior, it makes it easier to identify visually.
2. Common Attributes:
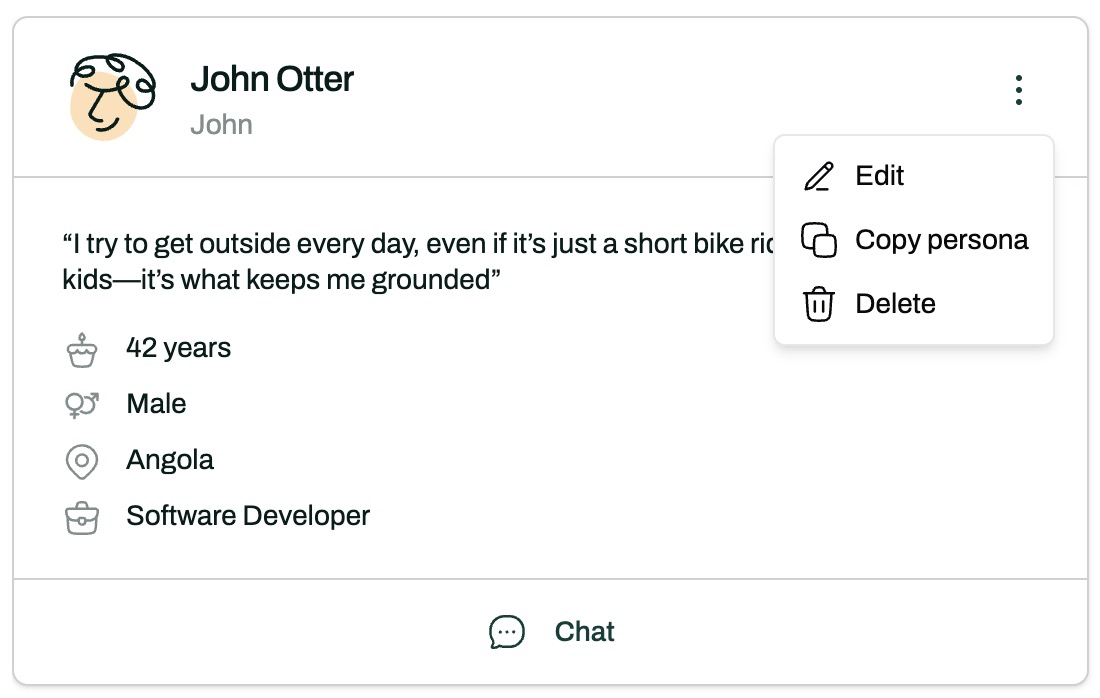
Name: Assign a name to your persona.
Nickname: Add a nickname for personalization.
Quote: Include a quote that encapsulates the persona’s essence or key message.
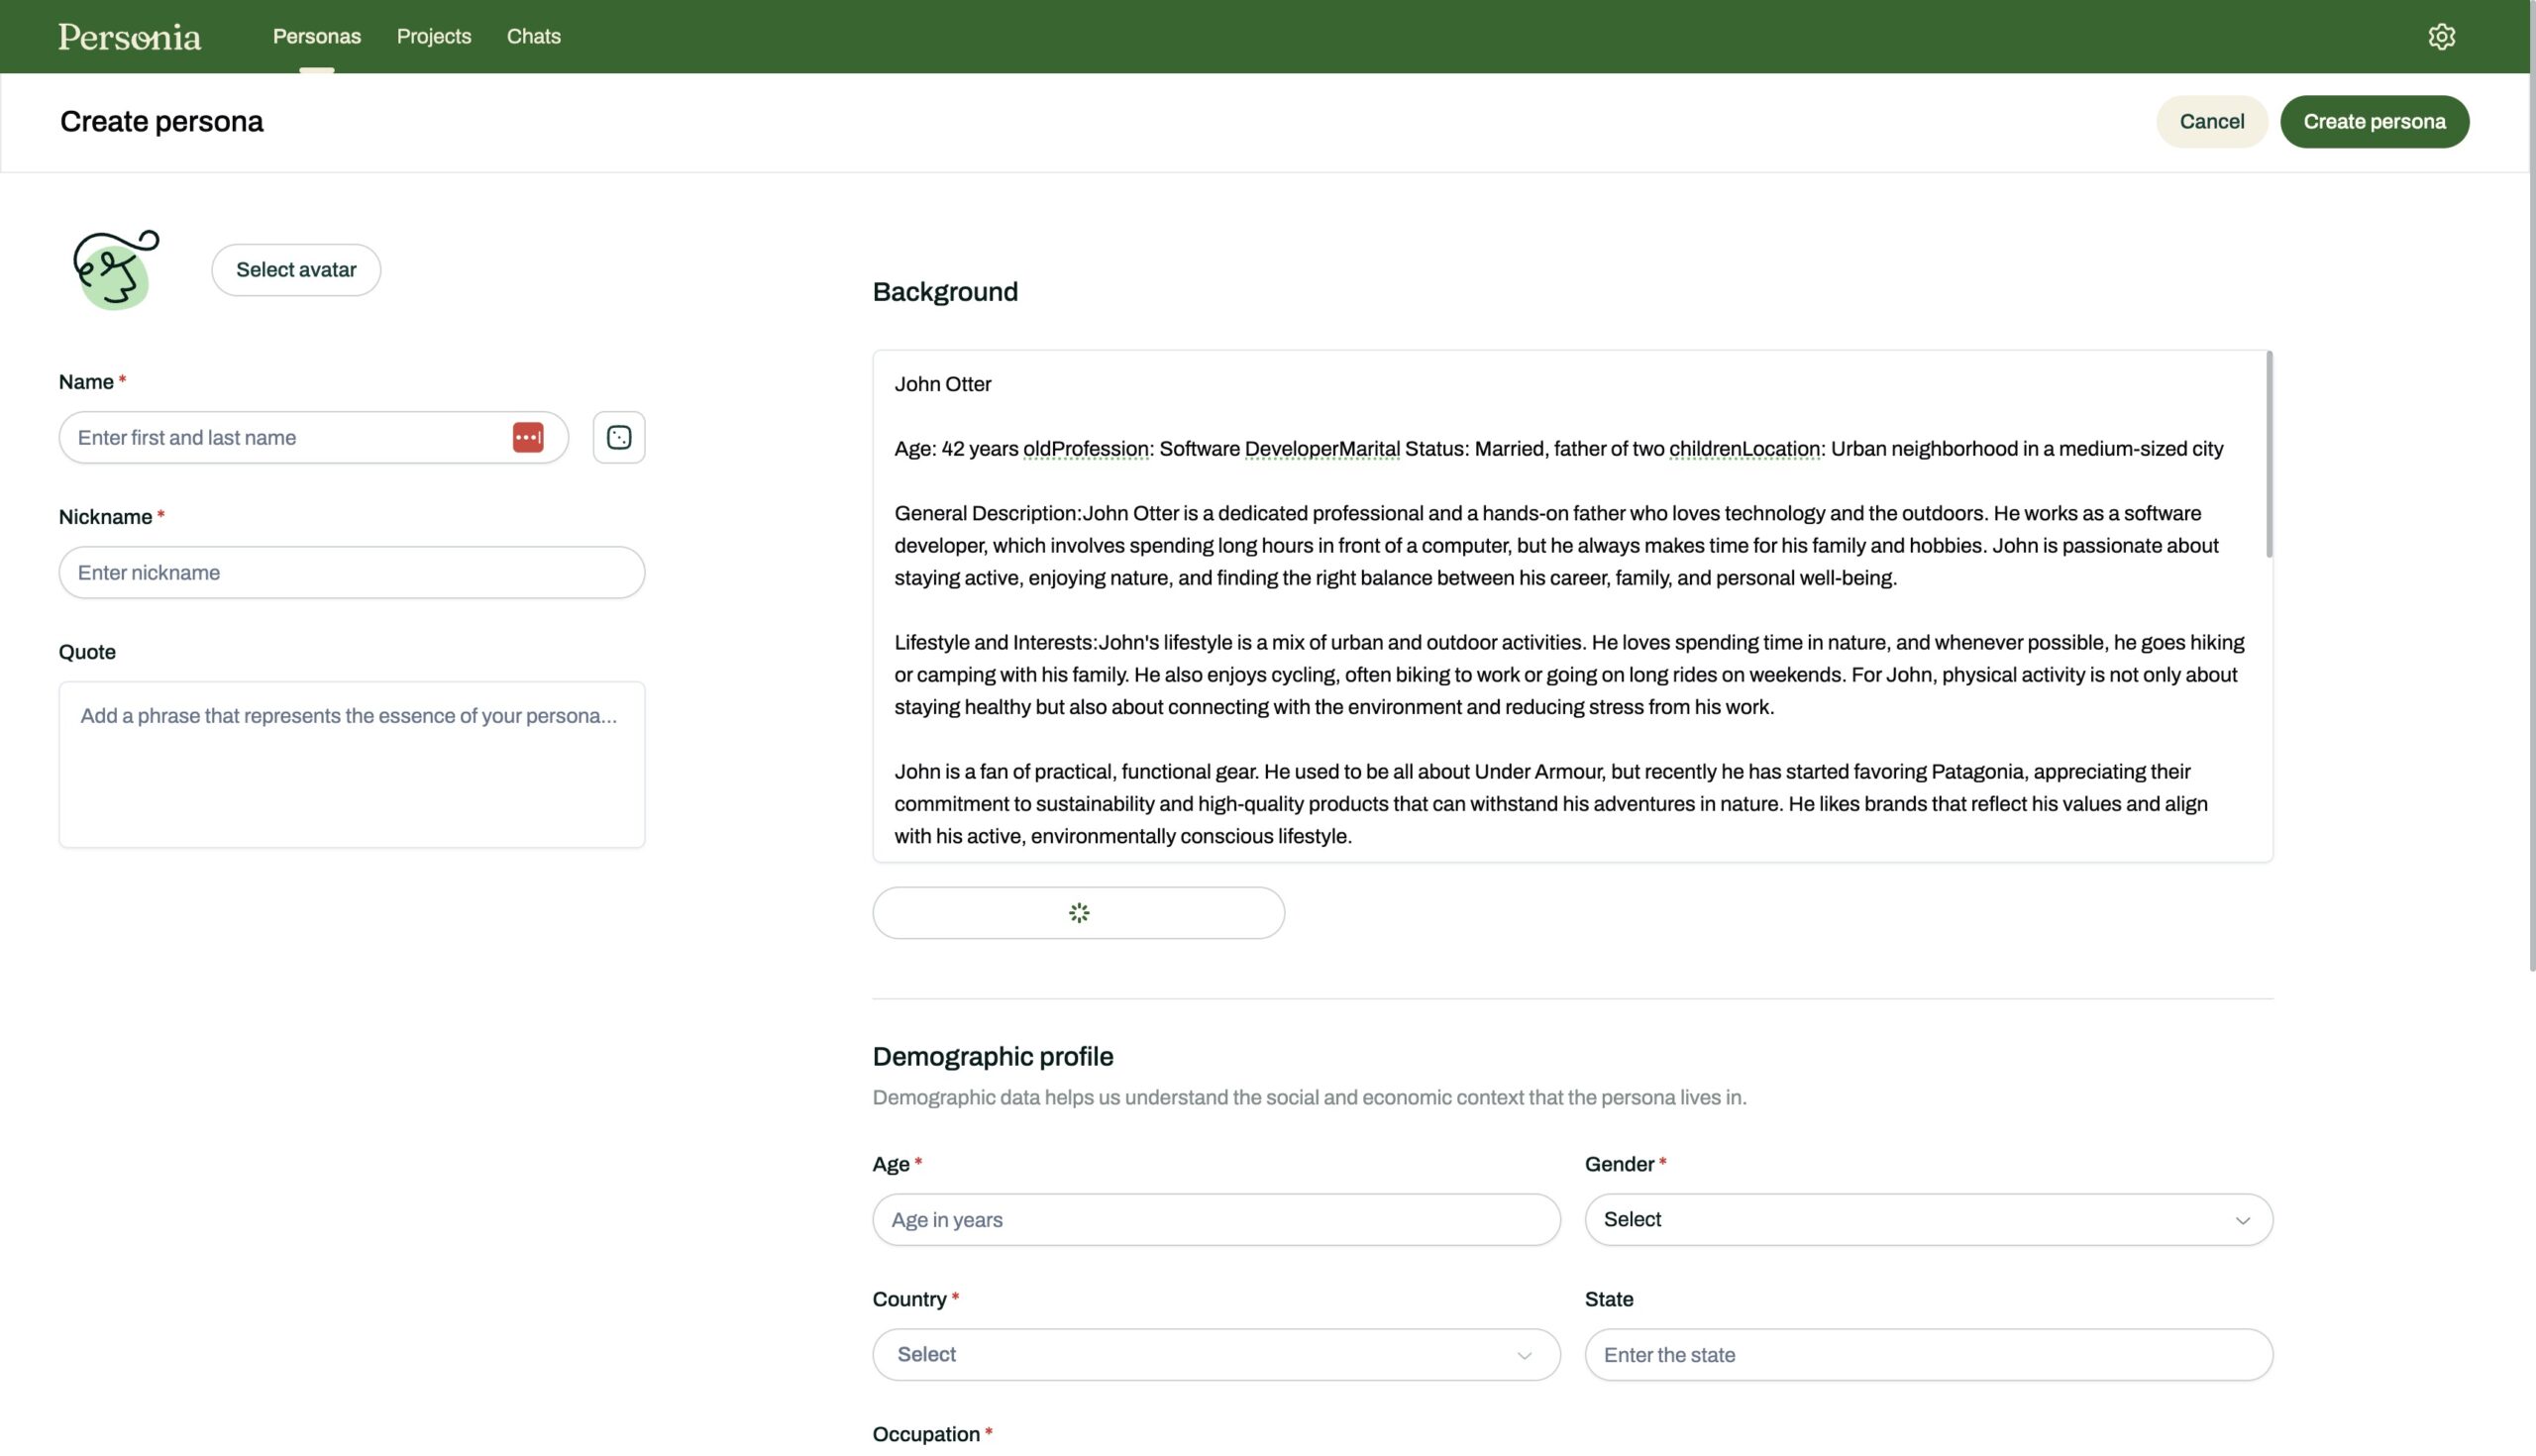
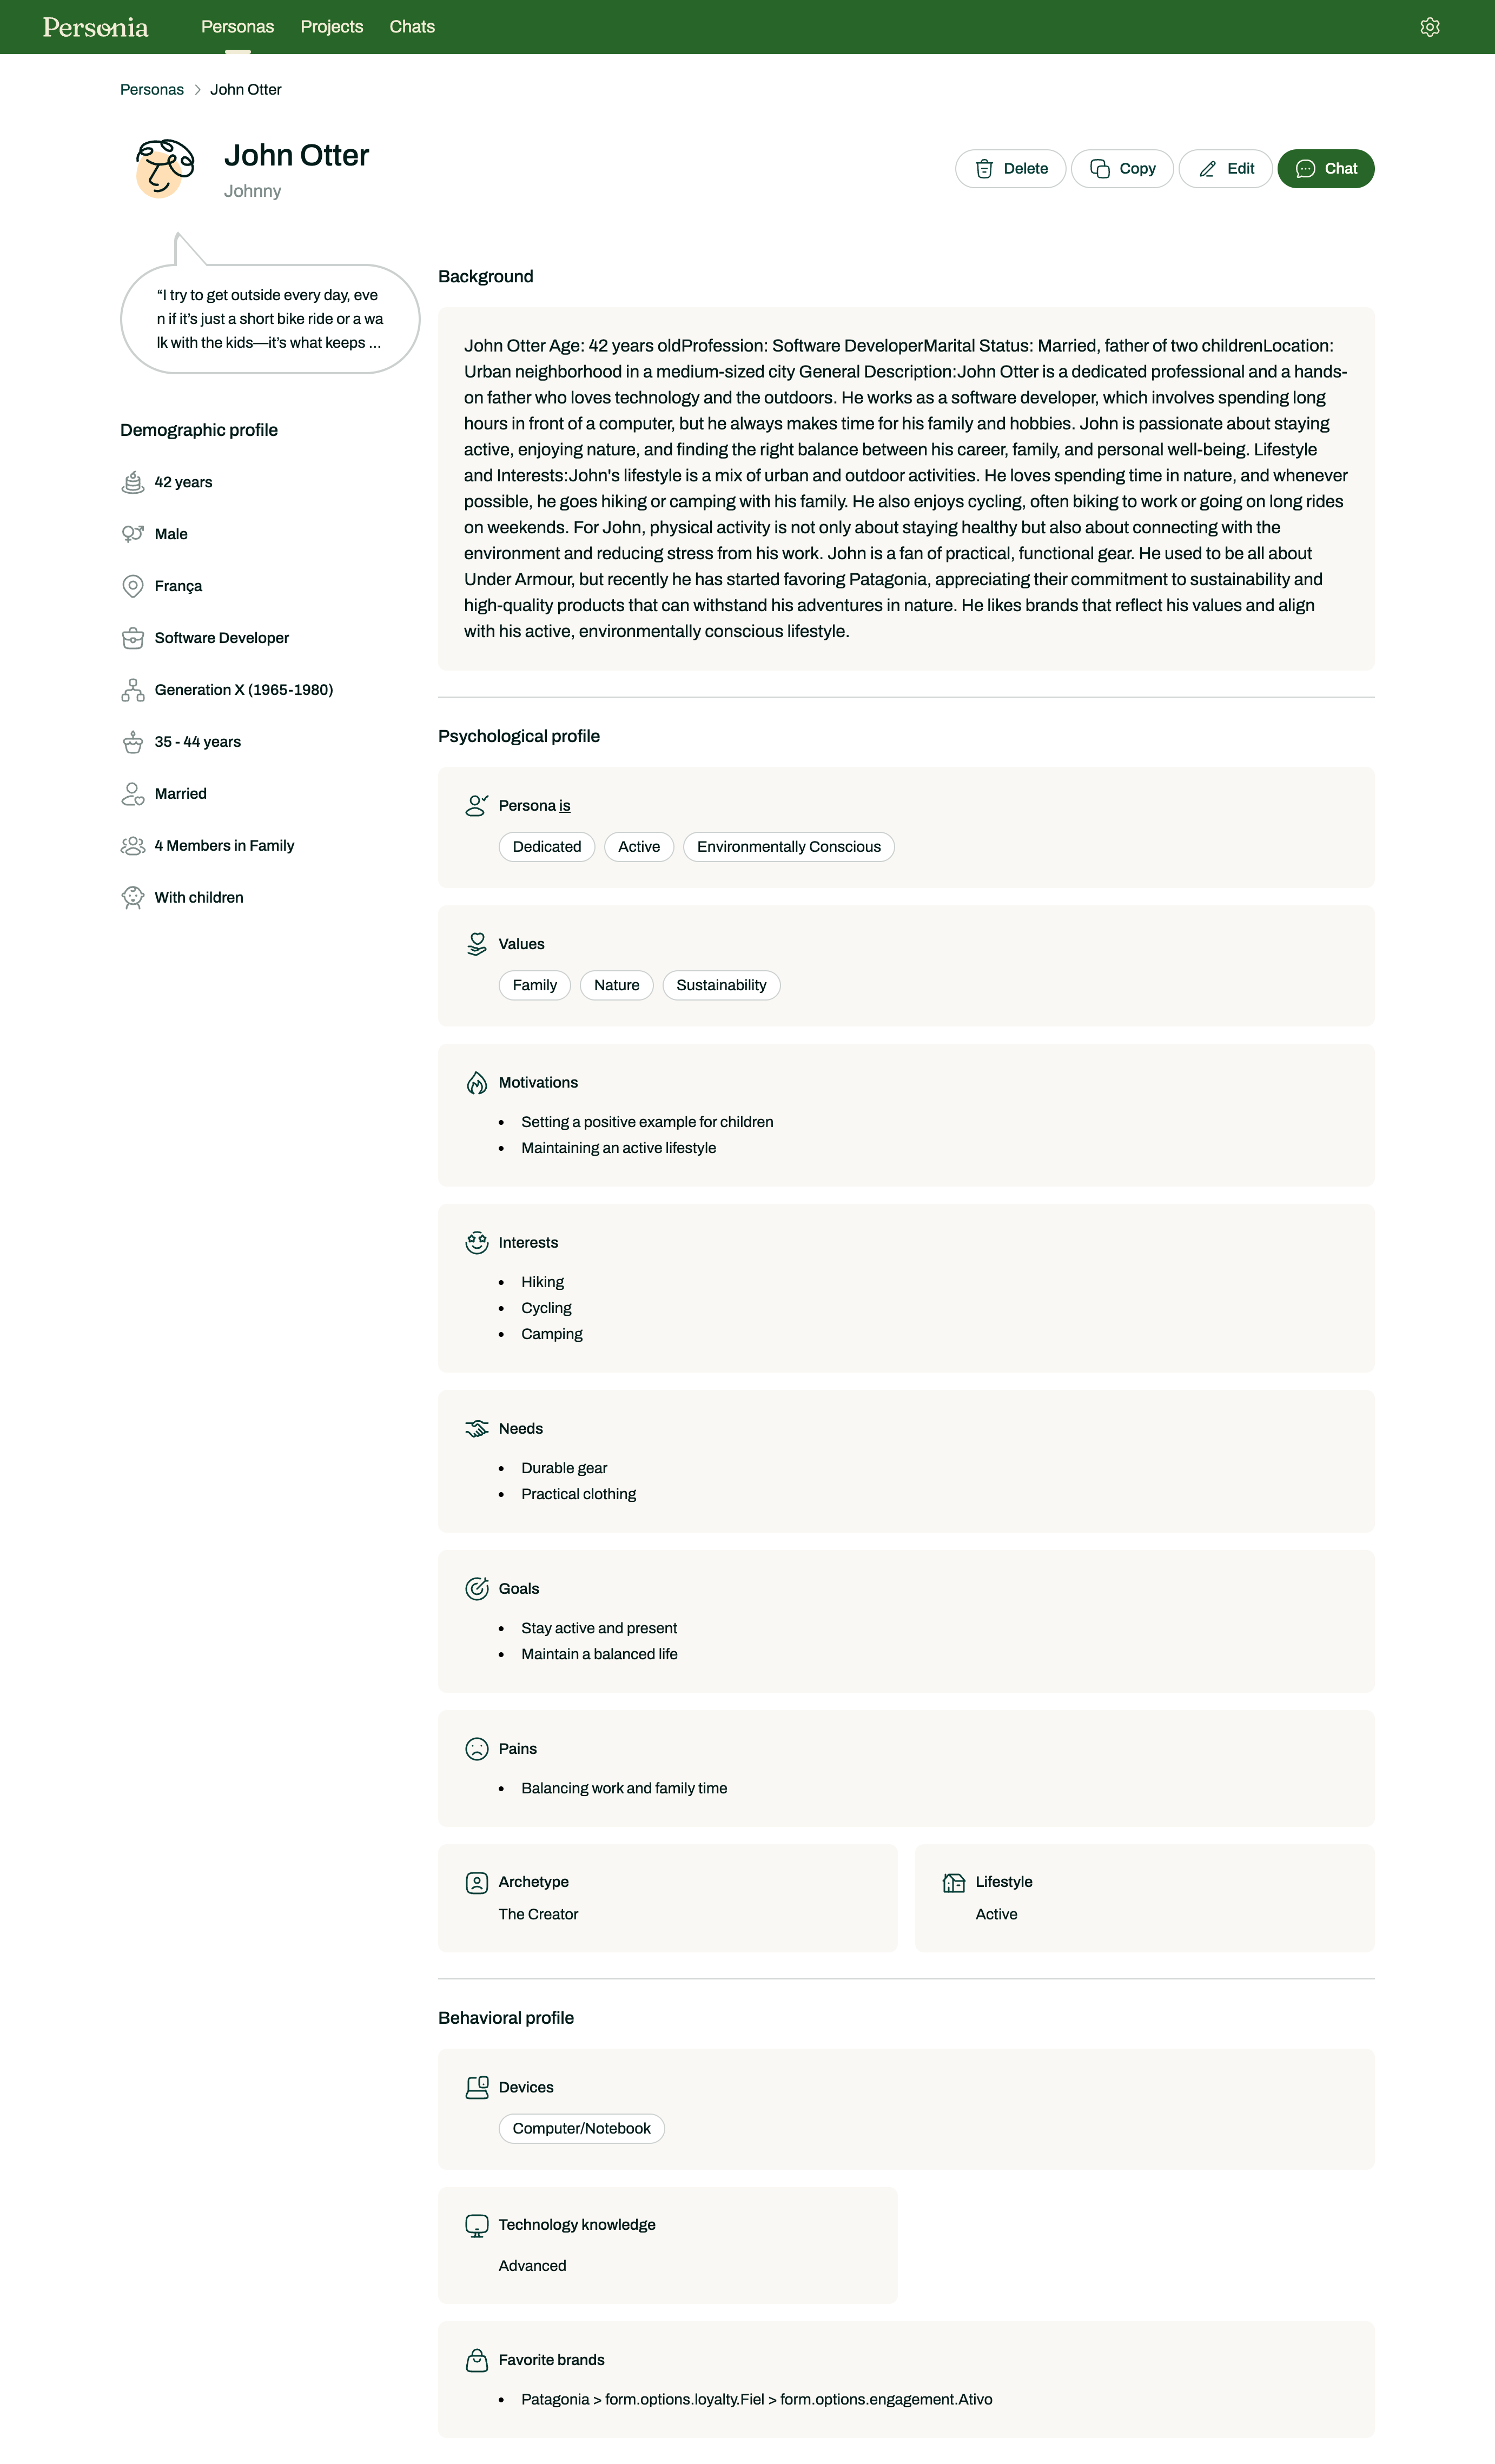
3. Background:
This is the most critical section for building your persona. Add all relevant information about your persona here. The data you provide in this field will serve as the foundation for automatically filling key attributes.
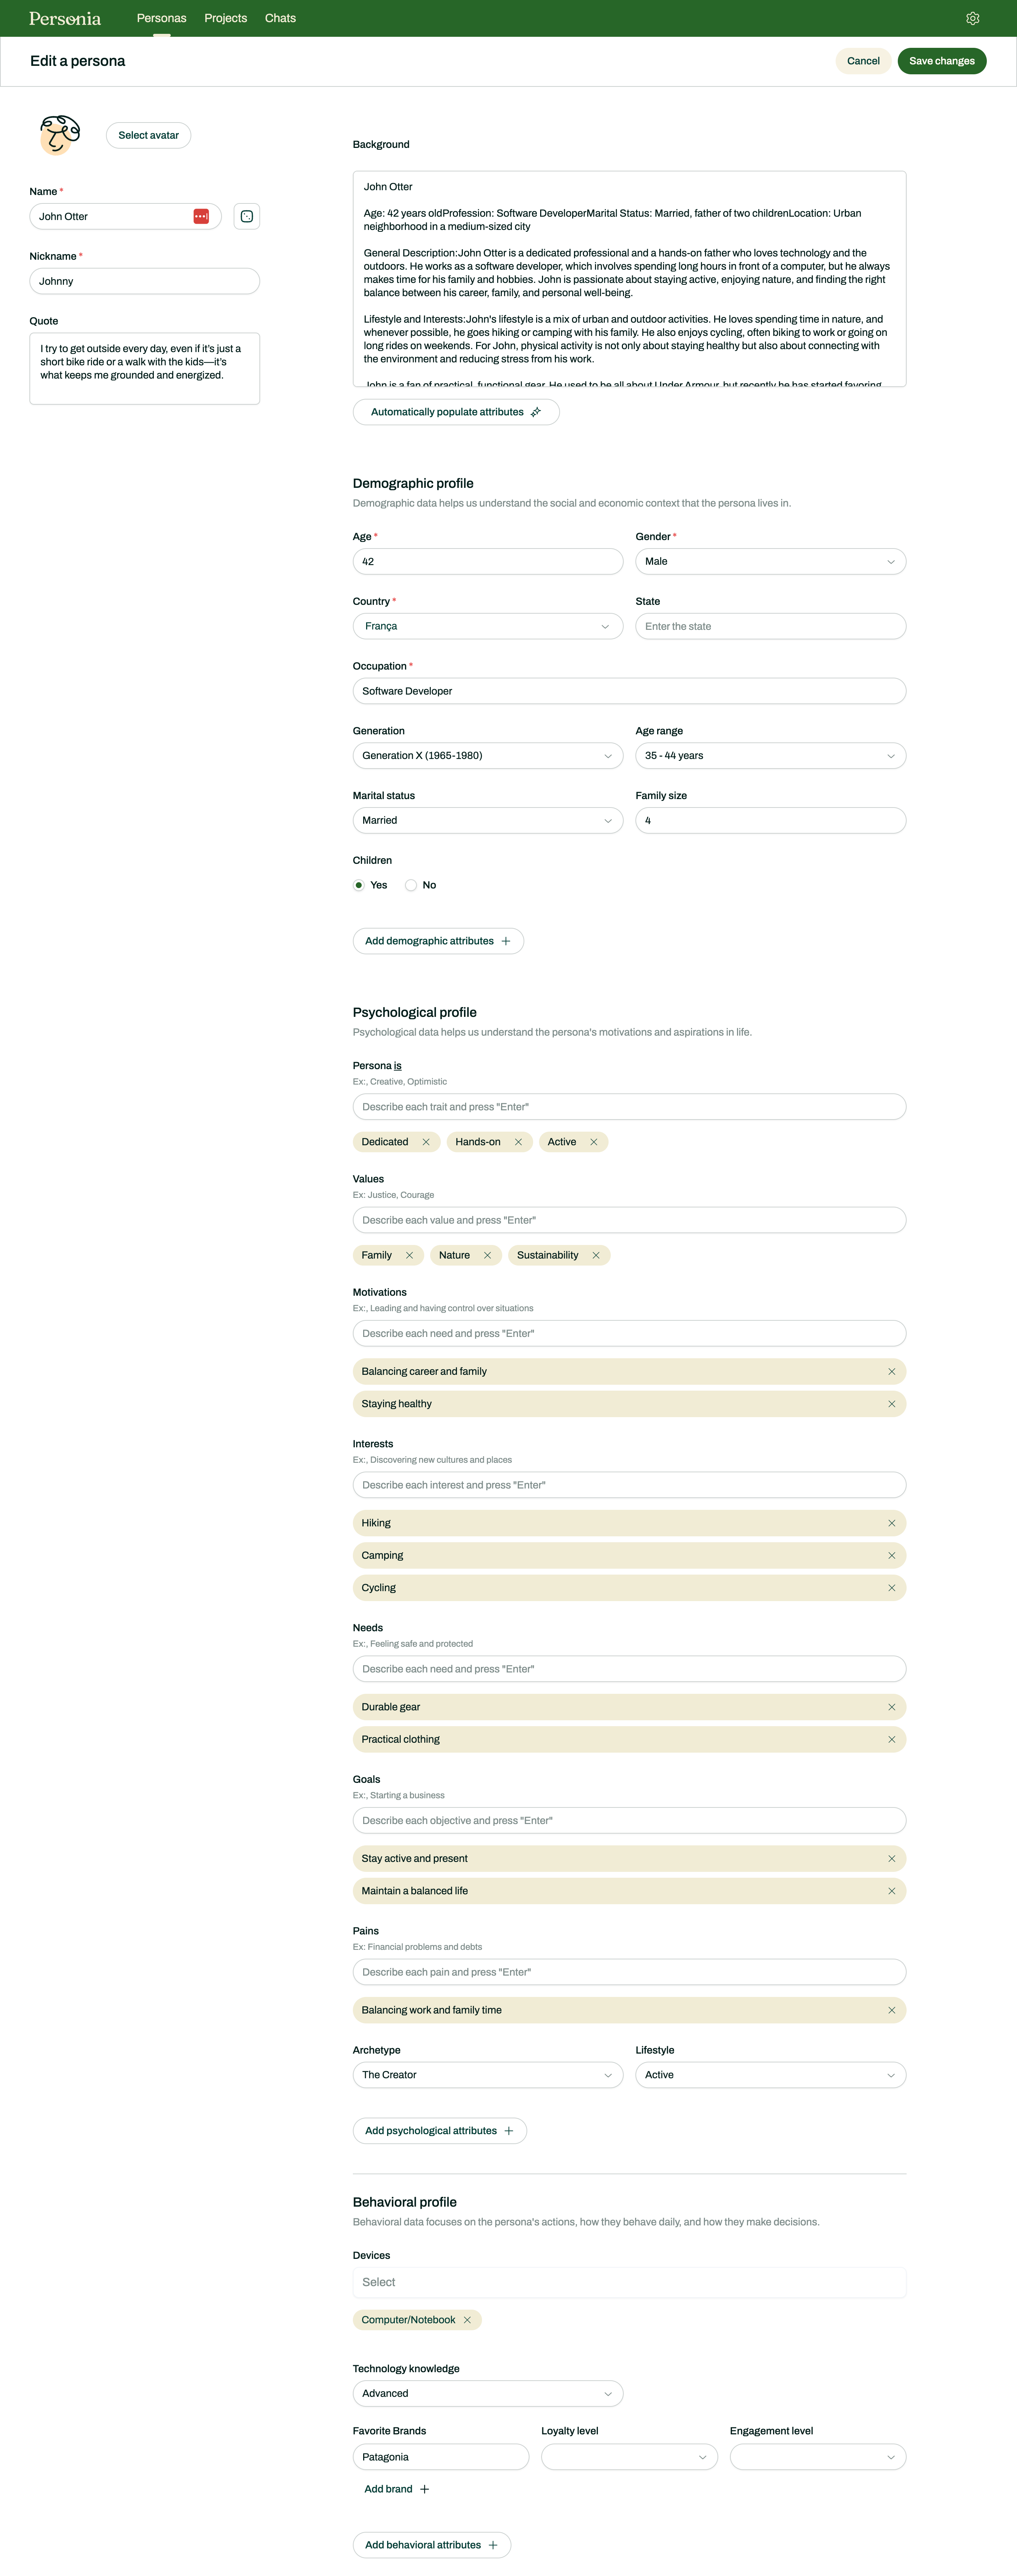
After inputting details, click “Automatically Populate Attributes” to let AI assist in generating the persona’s Demographic, Psychological, and Behavioral profiles.
When you’re ready, simply hit the button and watch as AI transforms your input into a detailed synthetic persona.


4. After Clicking “Automatically Populate Attributes”
Sit back for a few seconds while our assistant updates the available information about your persona. The assistant will populate key details directly into the Demographic, Psychological, and Behavioral profiles.
If any mandatory fields, such as age or country, are missing, they will be highlighted, prompting you to complete the required data.

5. Finish Setting Up Your Persona
Take a moment to double-check the data you’ve entered to ensure accuracy and completeness. Add any additional characteristics that might help define your persona more thoroughly.
When working with a group of personas within the same project, it’s recommended to maintain a consistent level of detail across them. This ensures better data parity, allowing for fair comparisons and improved persona performance.
Once you’re satisfied, click “Create Persona” to finalize the process. If you decide not to save your persona, simply click “Cancel”.
Don’t worry if some data is missing during the creation process—you can always edit and refine your persona later.

Accessing your Persona
Once you’ve created your persona, you’ll be redirected to the Personias Home Screen. Here, you can view all the personas you’ve created, search for specific personas by name, or organize them by creation date.
Let’s take a closer look at the persona card to understand the key information available at a glance.

The “Persona” Card
When you locate your persona, you have several options available directly from its card.
By clicking on the … menu, you can:
- Edit: Modify the persona’s details.
- Duplicate: Create a copy of the persona.
- Delete: Remove the persona permanently.
Additionally, in the bottom corner of the card, you’ll find an option to open a chat with your persona, enabling dynamic interaction.

The “Persona” Screen
Click on a Persona Card to access and view detailed information about the persona you’ve created. Within the persona’s detailed view, you’ll find options to delete, copy, edit or chat.
Once everything is set, your persona is ready to be included in any project you choose!

The “Chat” Screen
Before diving into detailed projects and insight sessions, you might want to test or have a quick conversation with your persona. The Chat feature allows you to engage in meaningful interactions with your persona for exploratory purposes.
This is a great way to:
- Ensure your persona behaves as intended, aligning with how you developed it.
- Test questionnaires or ask simple, ad-hoc questions that don’t require a specific methodology or a detailed insight report.
Use this feature to refine and validate your persona’s responses before integrating it into larger projects.

How to create a Project
Projects are dedicated spaces where you can conduct experiments and gather insights from your personas.
Let’s create your first project:
1. Navigate to your home screen or click on Projects in the top menu.
2. On the right top side of the screen, click the Create Project button.

The “Create Project” Screen
This is where you can set up all the details about your project. If you need guidance, you can use our template to describe the context of your project clearly.
You also have the option to upload files, enabling our AI to better understand any private data related to your brand, market, or other relevant topics. This information will be factored in when interacting with your personas, offering a more refined and tailored approach for optimal results.


Finishing Your Project Creation
Once you’ve entered all the necessary information and uploaded any relevant files for context, your project is ready to go.
No need to worry if you missed something—projects are fully editable. You can update information or add new files to enhance the context at any time.
When you are ready, hit Create Project again to finish your first project setup.

Generating insights within Projects
Project are dedicated spaces where you define the type of experiment you want to run and select the synthetic personas that will participate. You can run multiple experiments at the same project.
How to run your experiment
- Click “Create Task”.
- Select the type of session you want to run.
- Choose the personas that will participate in your session.
- Start the session and get ready to interact with your personas.
- Its good to have a questionaire or structure with questions ready.


Generating an Insight Report
Once you’ve finished asking questions, navigate to the right side of the screen and click “Generate Report”.
In just a few seconds, a summarized report will be ready for you. You can then choose to download the report or copy its content for further use.


Congratulations on completing your session!
Now you can leverage your reports to gain a deeper understanding of your audience and make informed decisions quickly.
Feel free to interact with your personas as much as needed. Experiment with different exploration methodologies to uncover diverse perspectives and generate impactful insights that truly matter.